Have you ever wondered how to fill up a frame without maximizing out the pixels of an image that barely fits? In this tutorial, we’ll teach you how to lớn resize an image without stretching it in Photoshop using ONE innovative tool!
The Problem with Regular Scaling
Before introducing khổng lồ you the perfect way on how lớn resize an image without stretching it, here’s why simply using the transformation tool will bởi more harm than good to the quality of your image.
Bạn đang xem: How to resize images in photoshop
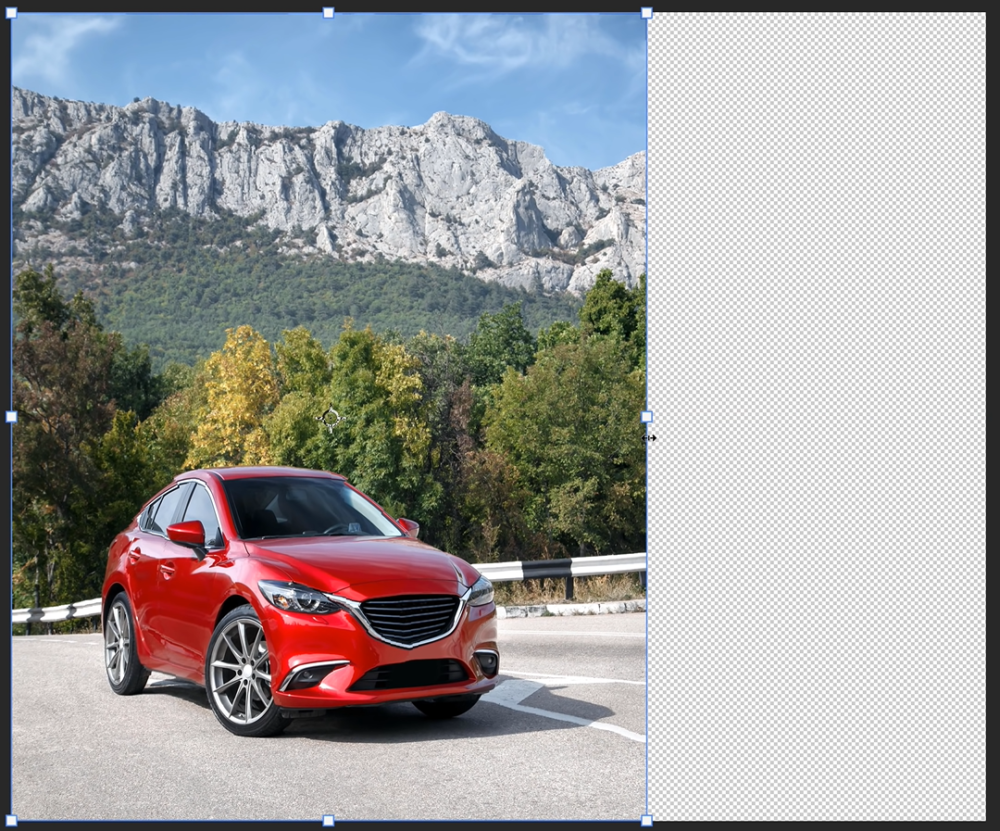
Working with the first image containing a car và transparency on the side, pressing Ctrl T (Windows) or Command T (macOS) lớn transform & scale, it will stretch out the pixels & causing the subject to look irregular, especially when working with portraits of people.
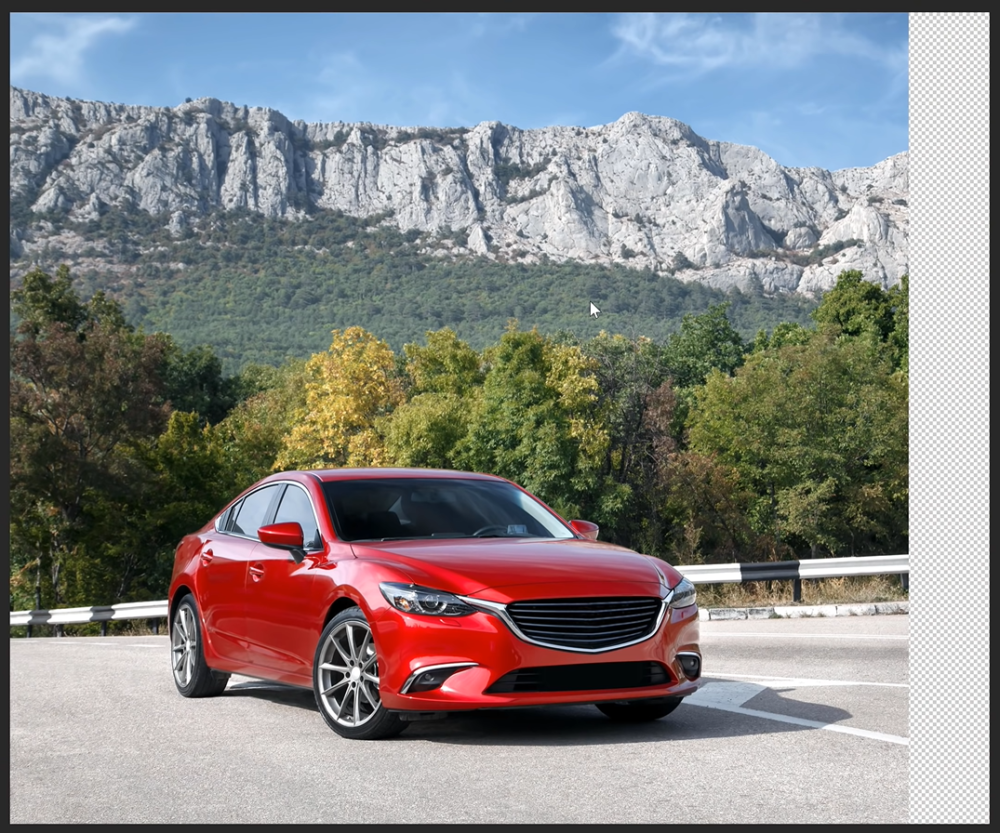
If you want lớn proceed with this, if it only affects the background & other unimportant areas, then Photoshop has the perfect tool for you.
Content-Aware Scale
Press the Esc khổng lồ exit the transformation mode.
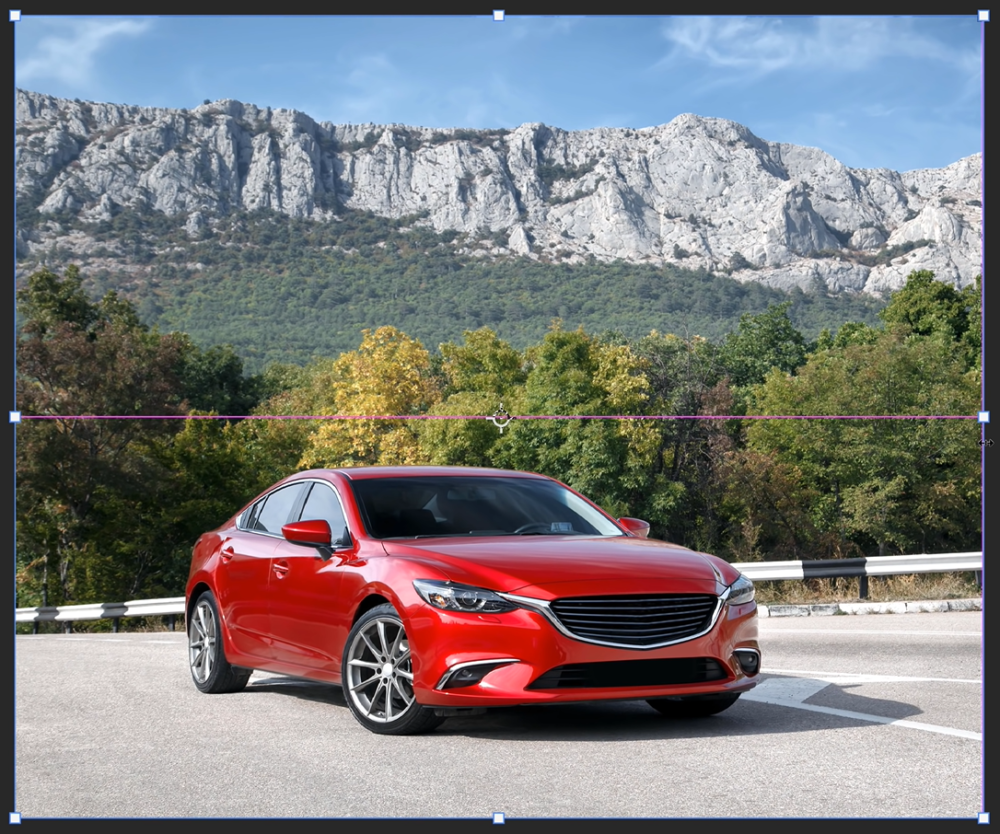
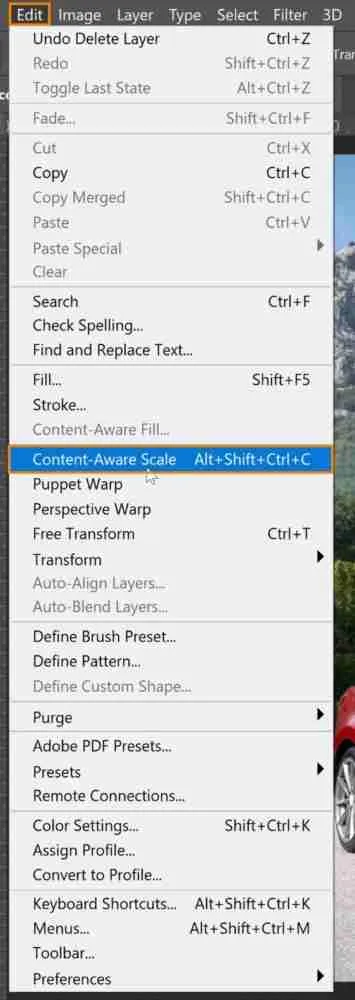
Choose Edit > Content-Aware Scale; this command allows you to scale up the image while protecting important visual areas of the image (e.g. People, animals).
Use the transformation handles to scale the image, consuming the rest of the transparent side. You may notice how the mountain background looks flawless, but the same cannot be said about the car, which looks distorted.
In this case, press Esc key lớn exit the transformation mode.
Protect Areas from Content-Aware Scale
With the car layer selected & unlocked, go khổng lồ the Properties panel and scroll down lớn reveal the Quick Actions.
Click the Select Subject button. This command is aided by Adobe Sensei, an Artificial Intelligence (AI) that automatically detects the subject & creates a selection around it.
In this step, the selection does not have to be perfect, and you can proceed with it by choosing Select > Save Selection.
On the Save Selection window, type your desired name for the selection. For this tutorial, phối it lớn “Car” and press OK.
Then, press Ctrl D (Windows) or Command D (macOS) to deselect the selection.
Choose Edit > Content-Aware Scale.
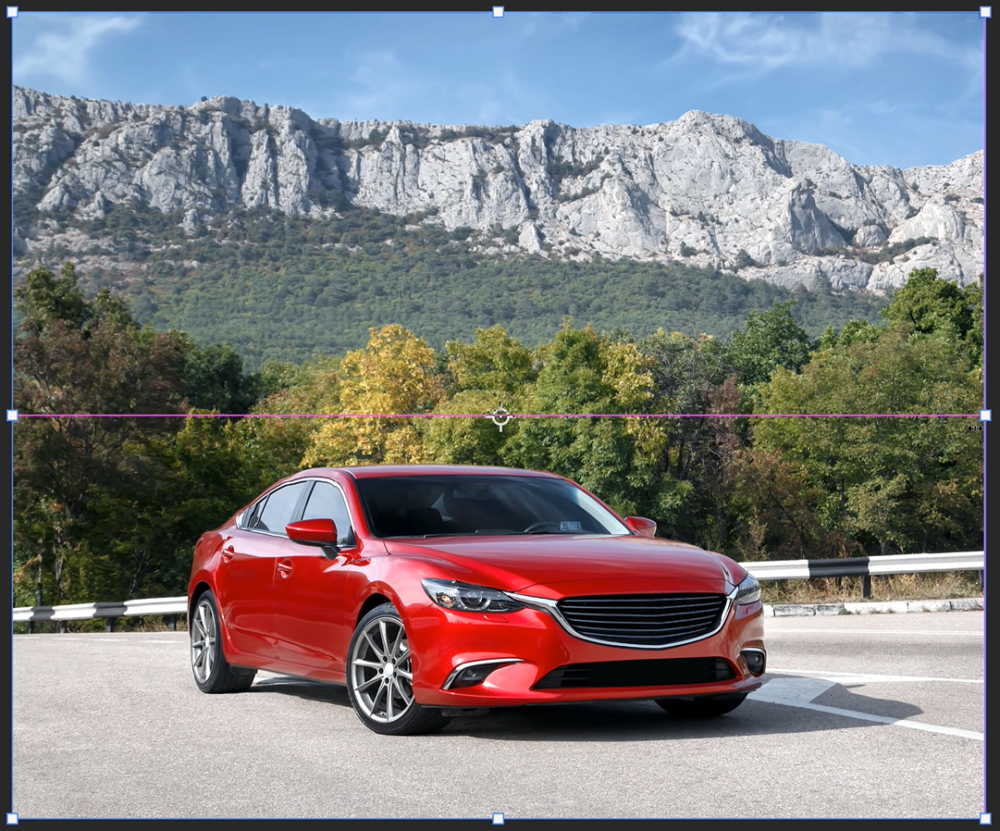
When you start scaling the image up or down, you will notice how the oto maintains its appearance without any applied distortion.
With this, you can scale the image to consume the rest of the transparency, và the background will still look flawless while maintaining the original kích cỡ and appearance of the car.
Xem thêm: Những Cách Đăng Kí Nick Ninja School Online Miễn Phí Teamobi
Back on the Options bar, the human icon stands for the Skintone Protection, which you can click khổng lồ protect skin tones if you have people in your image.
Use the Content-Aware Scale lớn resize UI Elements
If you’re creating graphic design and you want lớn feature a screenshot of a UI element to a specific dimension so that it fits the area where you want khổng lồ place it, here’s a technique that you can apply:
Open a document with screenshots of UI elements and a trắng rectangle layer to signify the specific dimensions where it should fit.
You may bởi vì it by deleting or erasing parts of the image and cramming the rest into that white space.
The smartest way to do it is lớn use the Content-Aware Scale without removing or adding parts of the image.
Select the UI element layer & choose Edit > Content-Aware Scale.
Use the transformation handles to lớn fit it into space’s dimensions and notice how Photoshop keeps all the necessary pixels.
Use the Content-Aware Scale with a Selection
With this technique, you can also work with a selection active. Use the Rectangular Marquee tool to select the bottom pixels of the UI Elements.
Choose Edit > Content-Aware Scale.
Use the bottom transformation handle to click-and-drag it to the top.
Then, click on the checkmark found on the Options panel lớn commit to lớn the changes.
Then, press Ctrl D (Windows) or Command D (macOS) khổng lồ deselect, và now, you have a piece that perfectly fits within the space.
And that’s how you use the Content-Aware Scale in two different ways: how khổng lồ resize an image without stretching it & how to resize UI elements without losing a pixel in the image!
If you enjoyed this tutorial, make sure khổng lồ follow PTC on YouTube! & if you create something using this tutorial, then nói qua it on social media with the hashtag #PTCvids for a chance to lớn get featured!
Jesús Ramirez is a digital graphics expert, speaker, và educator specializing in Adobe Photoshop. Jesús is best known as the founder of the Photoshop Training Channel, one of the most popular Photoshop YouTube channels in the world. More.
Follow: Instagram / YouTube / Twitter
Follow
Jesús Ramirez is the founder of the Photoshop Training Channel, a top Photoshop training YouTube channel with more than 1,600,000 subscribers. More.
Photoshop Tip Of The Day:August 7, 2018
To activate multiple layers using your keyboard, press Shift alt < (Mac: Shift Option <) to activate the layer below the currently selected layer (or the > key lớn activate the layer above).
You can keep adding to lớn the selection one layer at a time by tapping on either of the bracket keys while holding down Shift and Alt (Mac: Option).


